
the pillar guide
how to build a 3d printed rc car
You print the parts. You source the hardware. You build the car. Here's the honest version of what that takes — from someone who has broken a lot of parts finding out.
1. understand what you're building
A 3D printed RC car is not a kit. There are no parts in a box. You buy (or download) a design — STL/3MF files engineered for home printers — then print every structural part yourself and source the hardware that can't be printed: fasteners, bearings, electronics, wheels and tires.
That trade is the whole point. When a part breaks, you print another one. When you want it different, you change it. The build experience is a big part of the value — and the result should still drive like a high-end RC car, not a toy.
2. pick your project by donor strategy
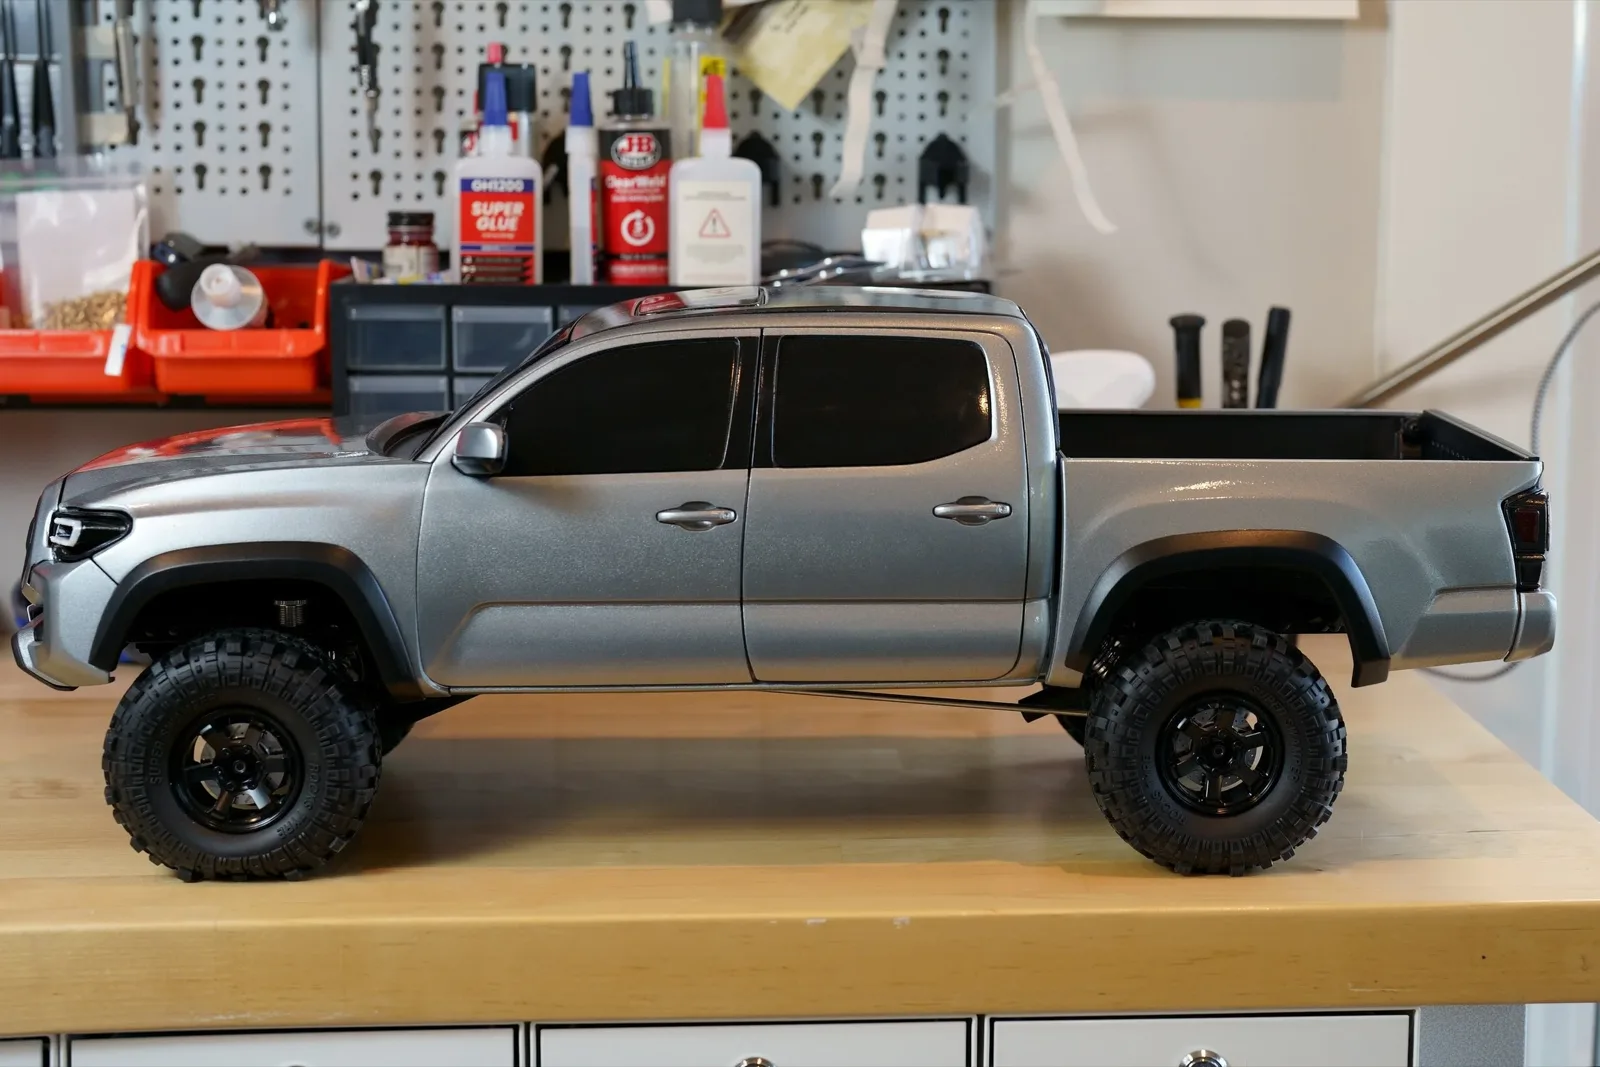
The single biggest fork in the road is where the non-printed parts come from. There are two proven models. The first: a fully printable chassis with a bill of materials of standard components — the WR1 works this way, with off-the-shelf electronics, bearings, and M3 hardware. The second: print a body and retrofit it to a donor truck — the Taco works this way, reusing the donor's entire drivetrain and suspension.
A BOM build gives you the deepest build experience and the most customization. A donor build is a simpler shopping list — one truck, one order. Pick based on how much sourcing you want to do, not just the sticker price.
3. know the real cost up front
The files are the cheap part — free to $35. For a complete chassis build like the WR1, plan on roughly $600 of hardware on top: motor, ESC, servo, receiver, battery, bearings, fasteners, and filament. Nobody should discover that at checkout, so it's in every build guide's shopping list with quantities and links.
4. print the parts right
Most standard FDM printers work — you need a 180×180×180 mm bed. Use PLA for aesthetic parts and PETG for structural and mechanical parts. Curv Lab parts are engineered for printability: oriented so overhangs stay under 45 degrees, which means minimal or no supports. Print settings and orientations are in each project's build guide, so the slicing decisions are already made for you.
Expect printing to take longer than assembly. That's normal — queue the plates and let the printer work while you shop the hardware list.
5. assemble with the guide, not against it
A good build guide names every part exactly, calls out every fastener spec, and shows each assembly as an exploded view. Follow the step numbers in order — they're sequenced so sub-assemblies come together before they meet the chassis. See the interactive WR1 build guide for what that looks like.
You'll need basic tools: hex drivers, pliers, and a soldering iron for heat-set threaded inserts. The assembly is careful work, but it's forgiving — parts can be reprinted, and everything is designed to be serviceable and taken apart later.
6. drive it, break it, improve it
Something will break. That's not failure — that's the feedback loop working. Re-print the part, check whether your print settings or the driving caused it, and go again. Community feedback from thousands of builds is exactly how the WR1 got to version 2.
Ready to start? The Mega-Bearing is free and takes an afternoon. The WR1 is the full experience. Check what printer you need and the required hardware before you commit.