
shopping list
required hardware
The printed parts are half the build. This is the other half — the electronics, fasteners, tools, and paint for each project, with the links we actually use.
Some links are affiliate links — they cost you nothing extra and help fund new projects. Shopping links open in a new window.
WR1 V2
Drivetrain & electronics
required-
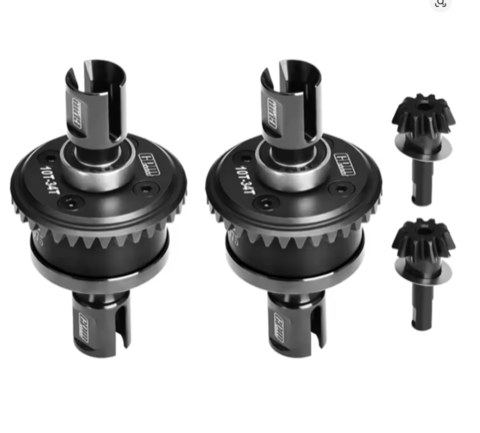
GPM Front/Rear Diff Set
-
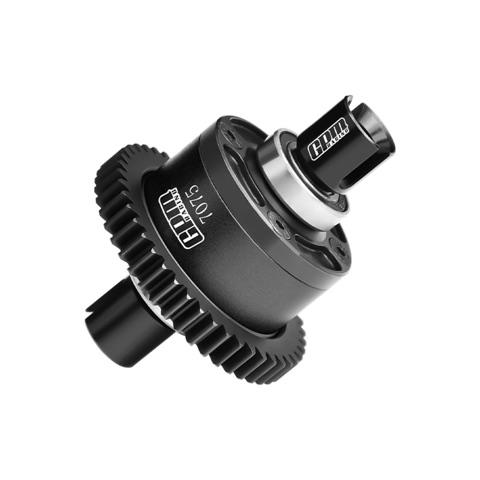
GPM Center Diff
-
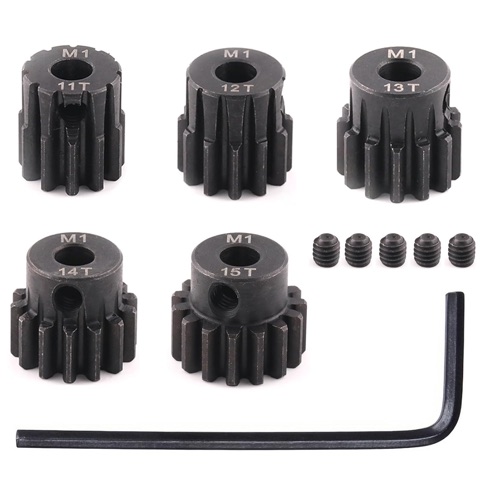
12T M1 5mm Pinion
-
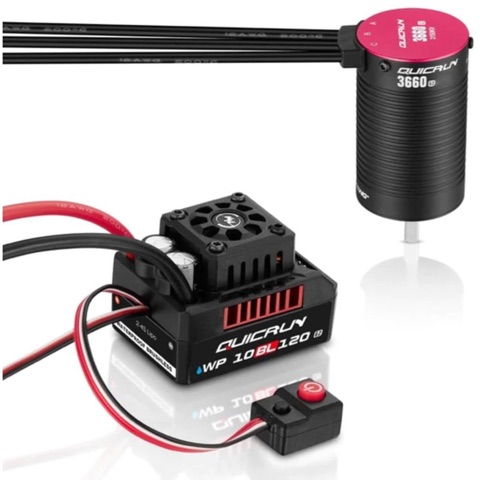
Motor / ESC Combo
attention Buy the motor with a 5mm output shaft: the QuicRun 3660SL G2. Some listings also offer the QuicRun 3652SL G2, which has a 3.175mm shaft that is too small for the pinion gear. Check the motor option before you check out.
-
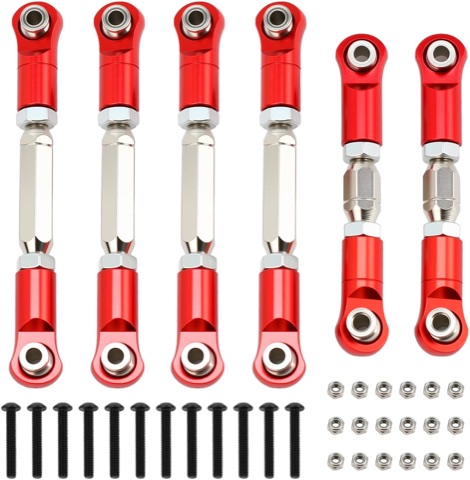
Links Set
-
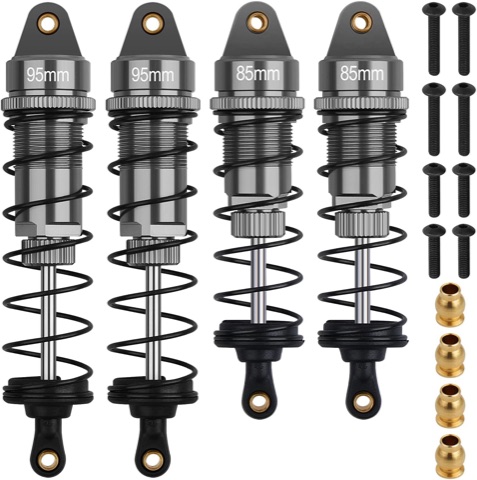
Shocks 85/95mm
-
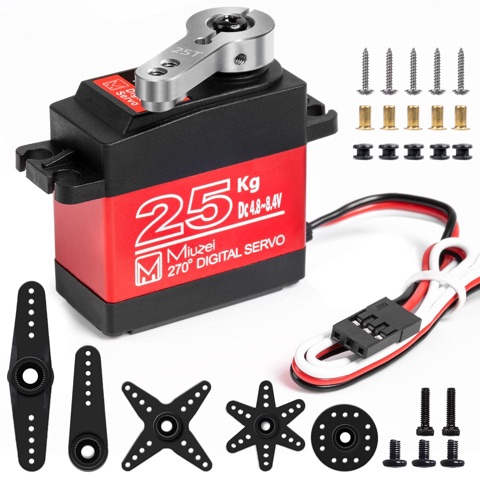
Waterproof Servo
-
![55mm Axles [2pcs]](/assets/hardware/wr1/55mm-axles-2pcs.jpg)
55mm Axles [2pcs]
Buy two 2-packs, or one 4-pack below.
-
![55mm Axles [4pcs]](/assets/hardware/wr1/55mm-axles-4pcs.jpg)
55mm Axles [4pcs]
E-clip shafts & clevis pins
requiredDue to a shortage of M3 e-clip shafts, the WR1 has M4-compatible alternative parts. If M3 e-clips are sold out, buy M4 e-clip shafts or M4 clevis pins instead, and print the M4 alternate parts listed in the build guide.
-
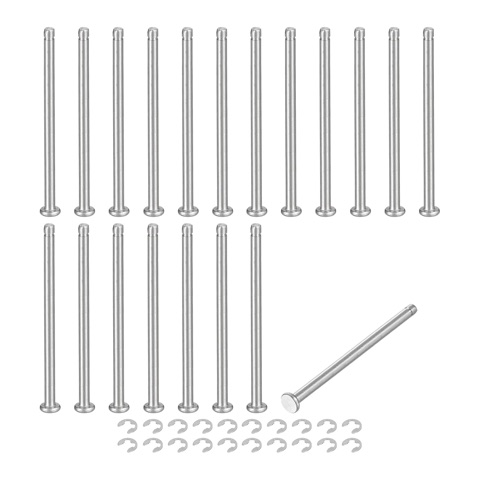
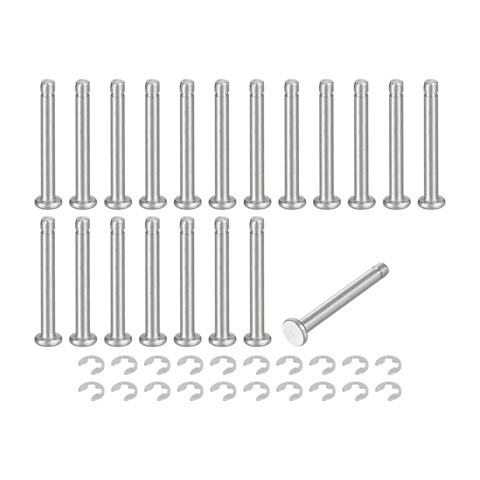
50mm M3 E-clip Shafts
-
25mm M3 E-clip Shafts
-
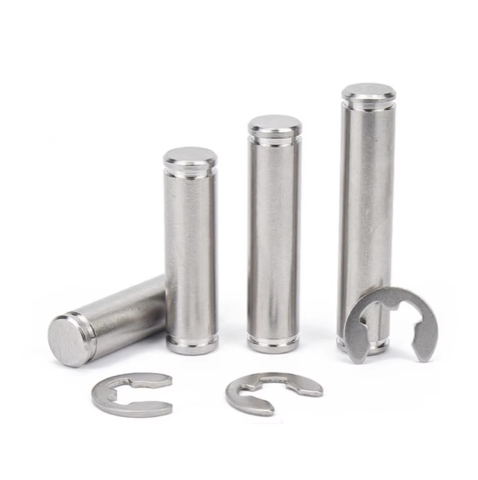
55mm M4 E-clip Shafts
This supplier measures the usable portion of the shaft differently, so order the 55mm and 30mm lengths.
-
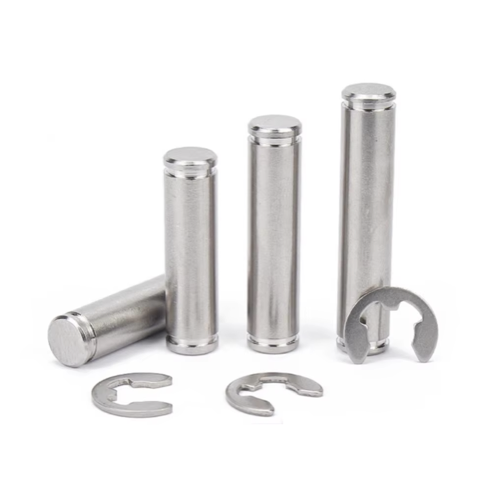
30mm M4 E-clip Shafts
This supplier measures the usable portion of the shaft differently, so order the 55mm and 30mm lengths.
-
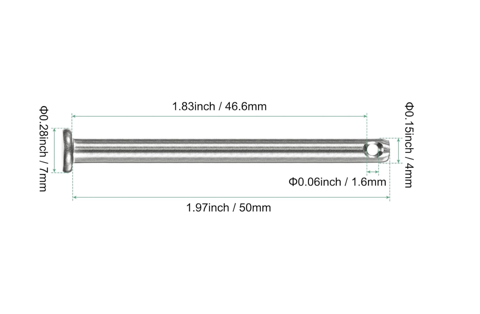
50mm M4 Clevis Pin
-
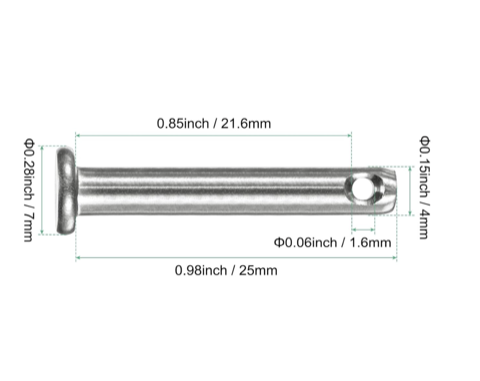
25mm M4 Clevis Pins
Fasteners, bearings & fluids
required-
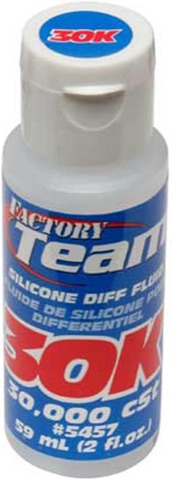
Differential Lubrication
-
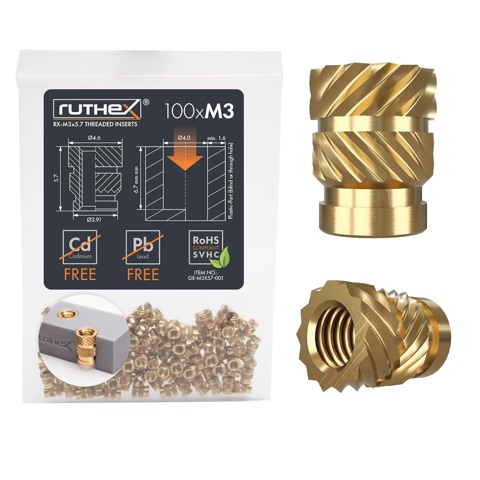
Inserts M3 x 5.7mm
-
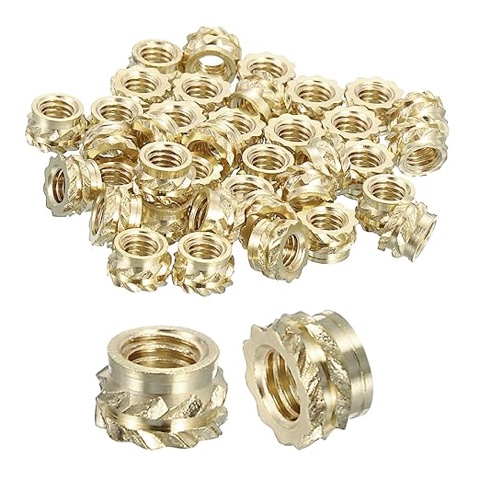
Inserts M3 x 3mm
-
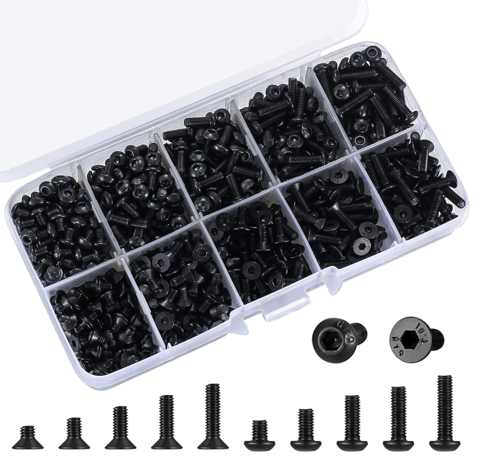
M3 Fastener Kit
-
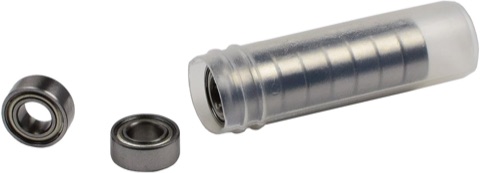
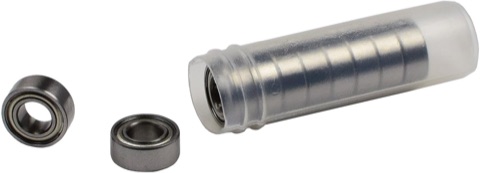
5 x 10 x 4mm Bearings
-
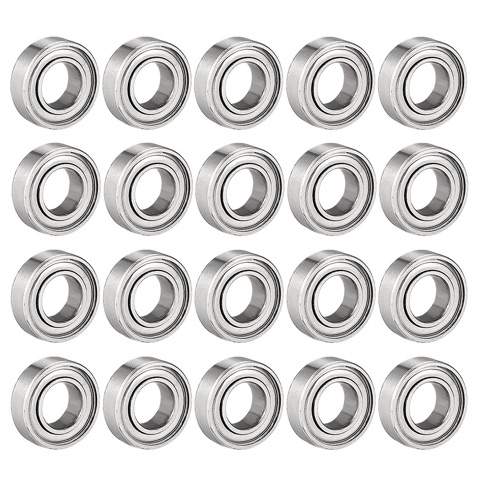
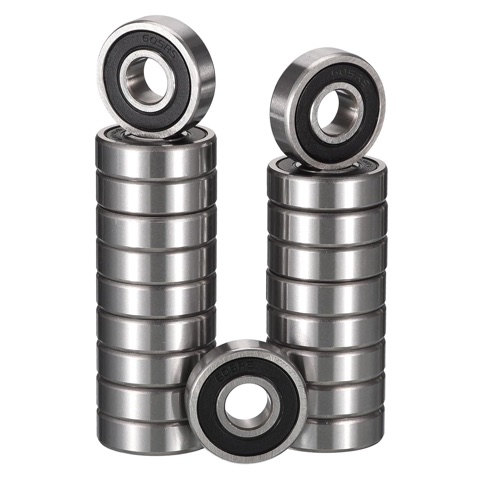
8 x 16 x 5mm Bearings
-
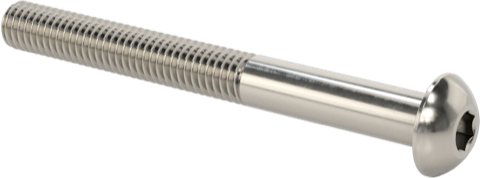
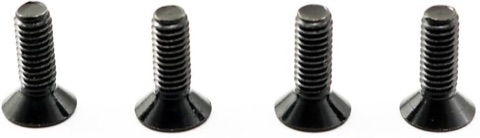
30mm M3 Screw
-
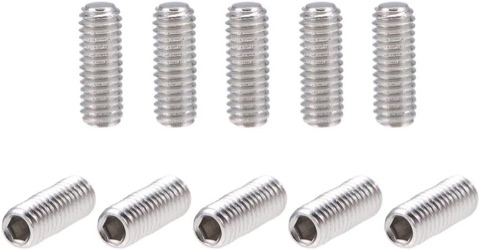
M3 x 8mm Set Screws
-
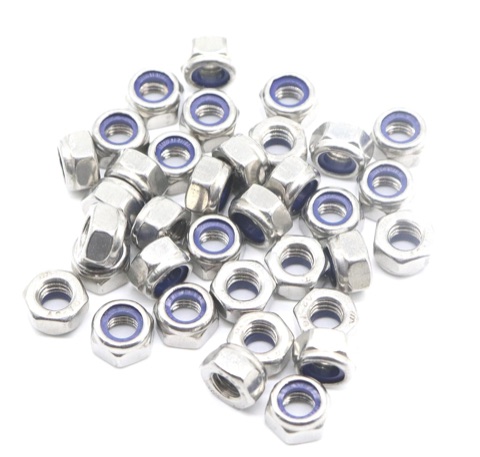
M4 Lock Nut
-
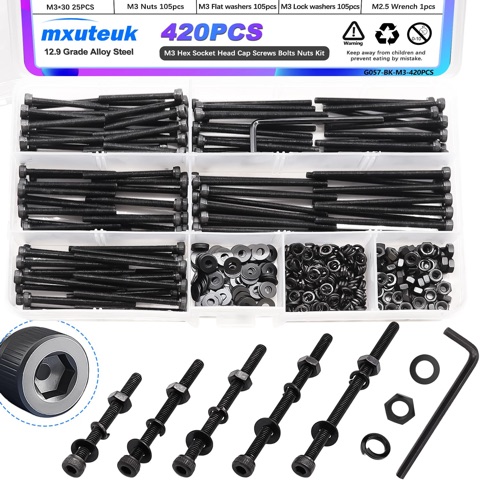
M3 Long Screw Set
-
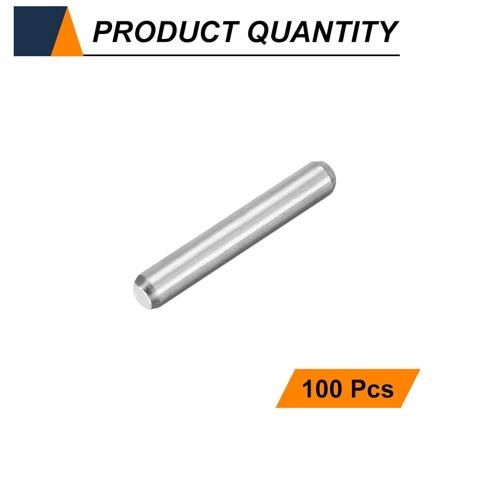
M1.5 x 10mm Dowel Pin
-
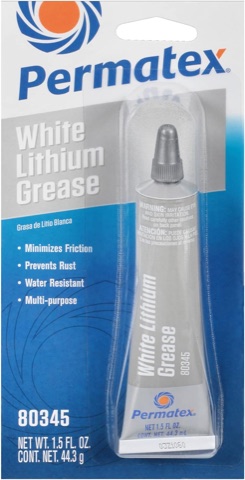
White Lithium Grease
-
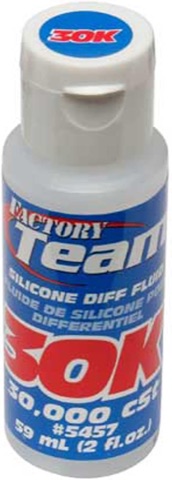
30k Diff Fluid
-
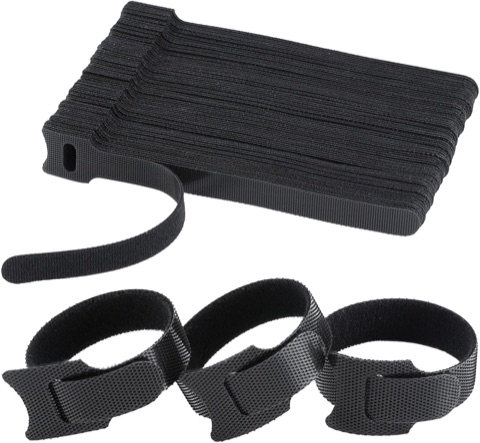
Velcro Battery Straps
Required tools
requiredThese tools are required for assembly, but the exact brands are just suggestions — any equivalent works.
-
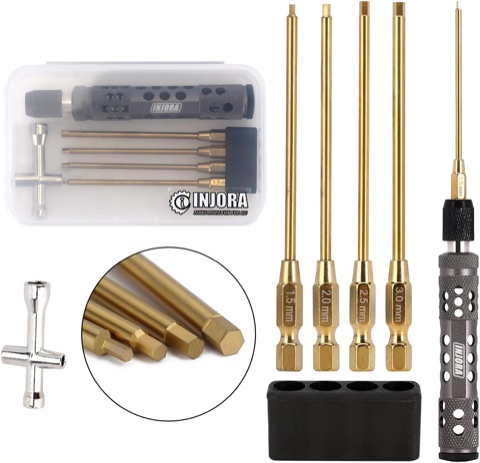
Hex Screwdriver Set
-
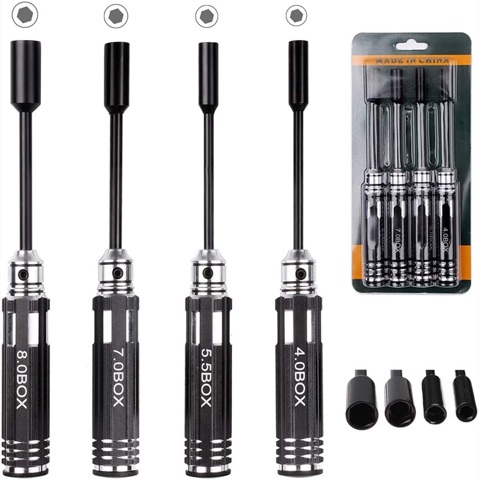
7.0 Box Wrench
-
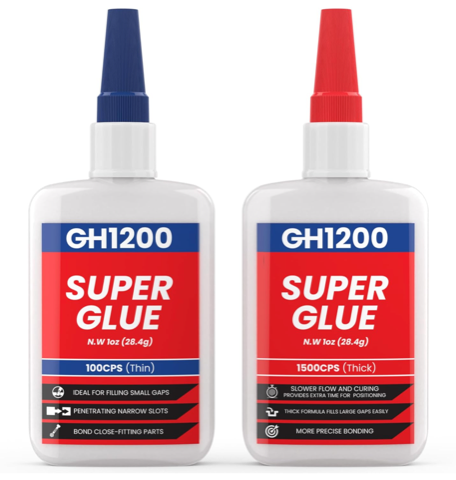
CA Glue
-
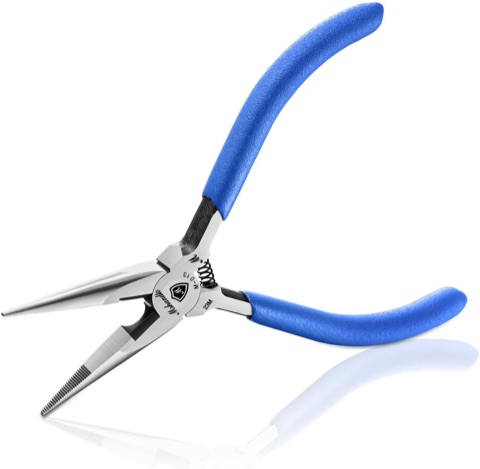
Pliers (for e-clips)
-
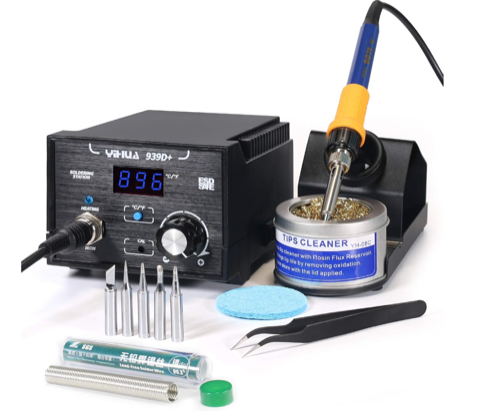
Soldering Iron
-
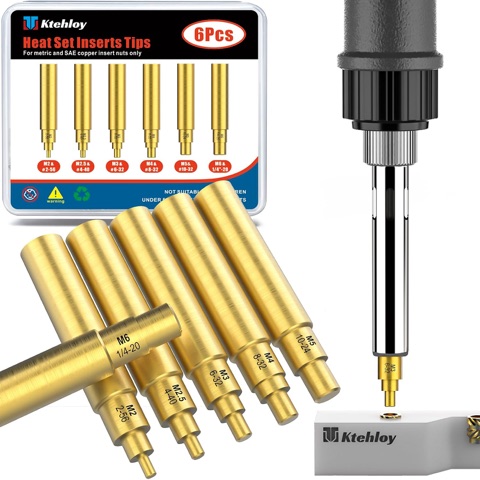
Heat-Set Insert Soldering Tips
Make sure the tips are type 900M so they fit the soldering iron linked here.
Wheels, battery & radio
optionalTwo battery options and two transmitter/receiver options are listed — pick one of each.
-
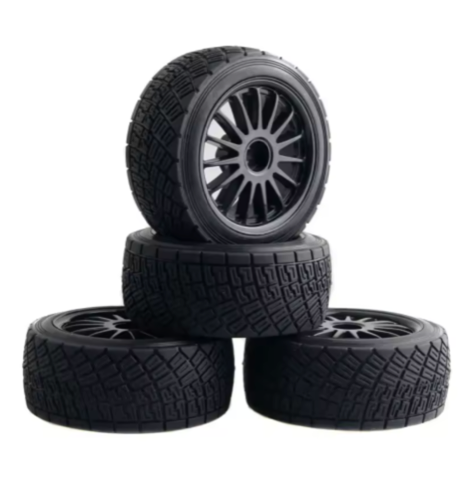
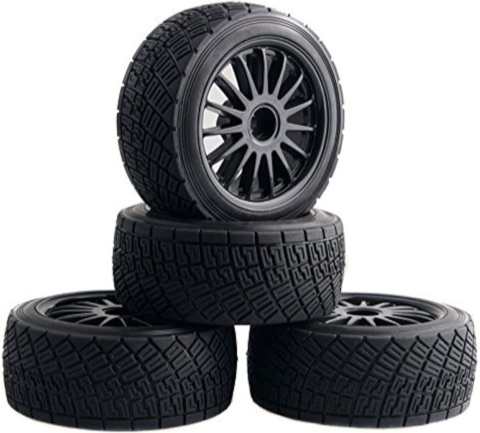
Wheels / Tires
-
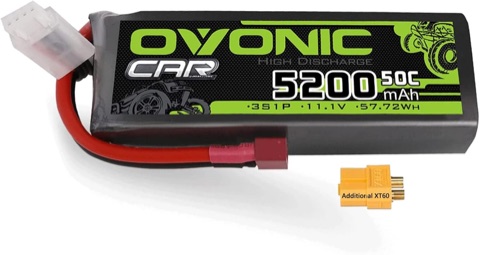
Battery — option A
-
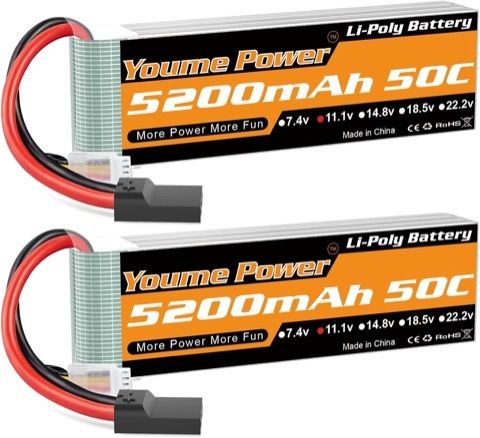
Battery — option B
-
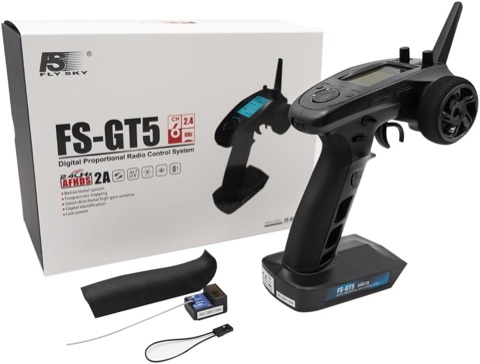
Transmitter / Receiver — option A
-
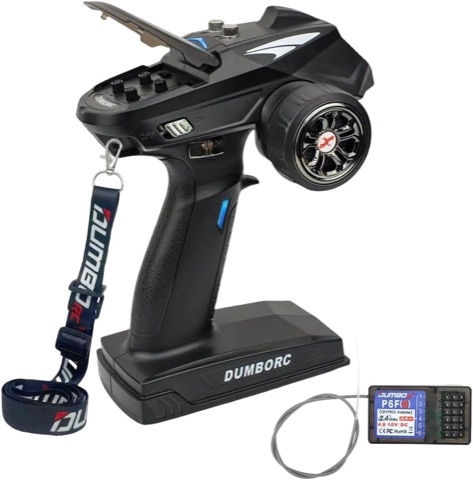
Transmitter / Receiver — option B
Recommended printers & filament
recommended-
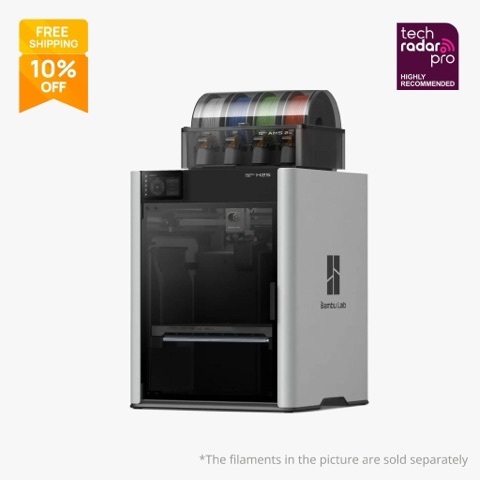
-
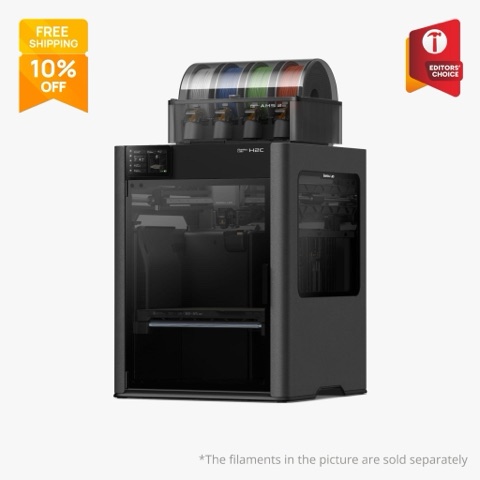
-
PETG Basic
-
PETG HF
FPV system
optionalOnly if you want to add an FPV camera system to the WR1.
-
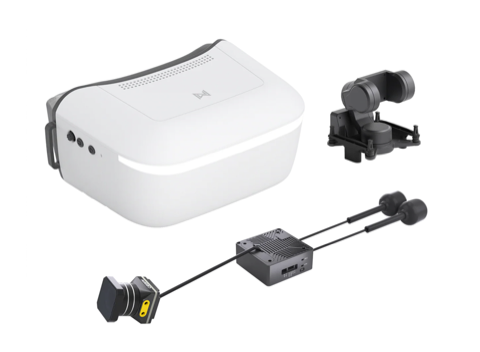
Moonlight 4K Camera FPV Kit
Required RC components
required-
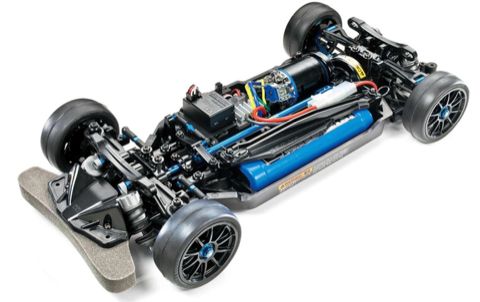
Tamiya TT-02 Chassis
-
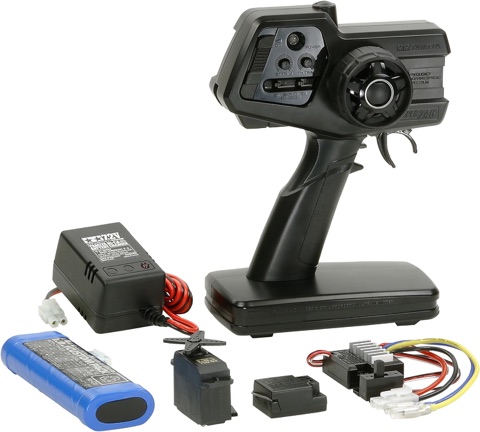
Battery, Servo & Transmitter/Receiver Kit
-
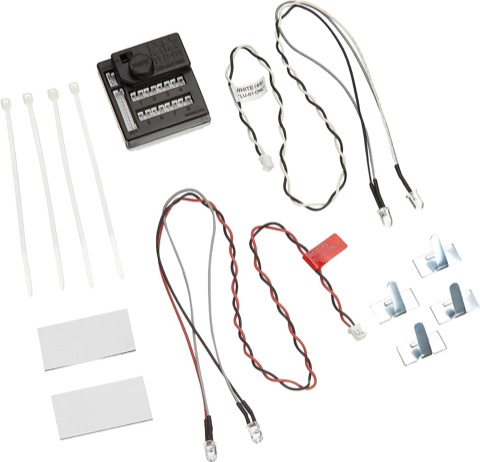
LED Headlight & Tail Light Kit
-
-
Paint colors
-
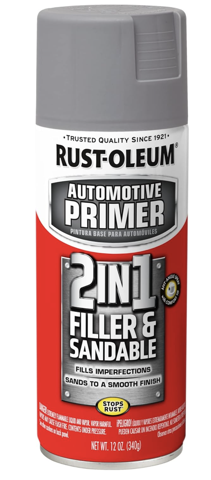
Sandable Primer
-
-
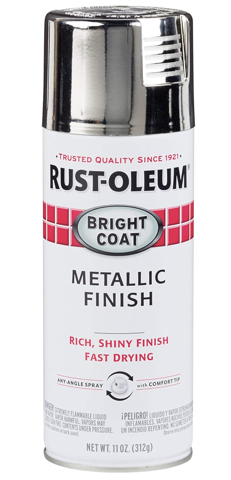
Chrome
-
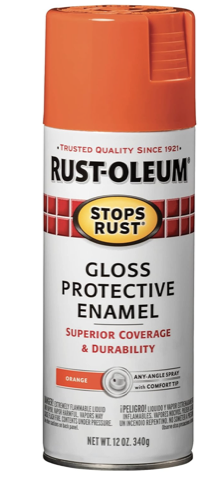
Gloss Amber
-
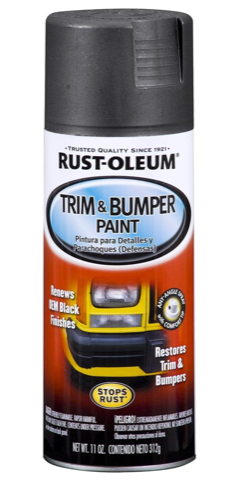
Matte Black
-
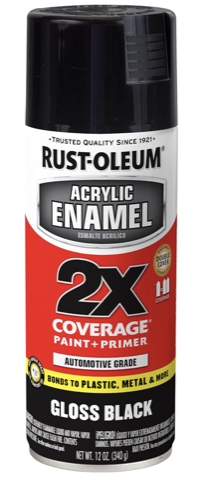
Gloss Black
Helpful tools
optional-
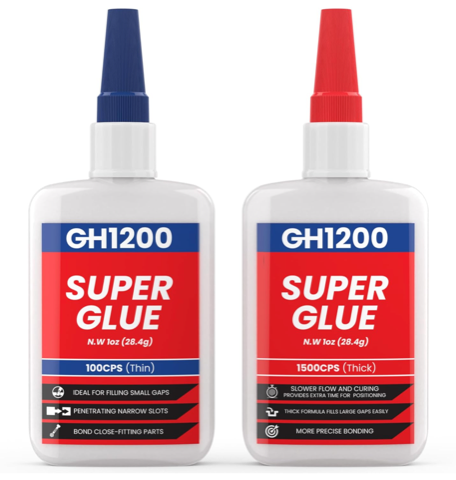
Super Glue
-
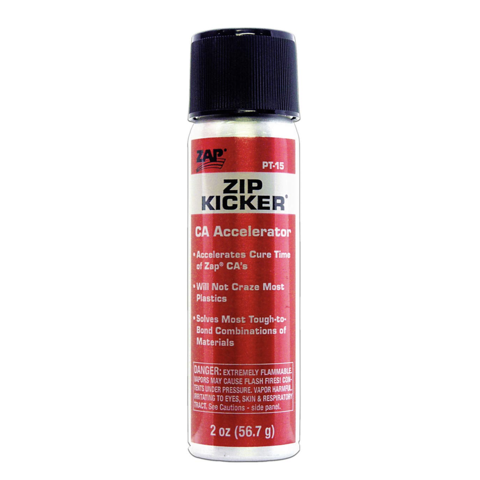
Zip Kicker
-
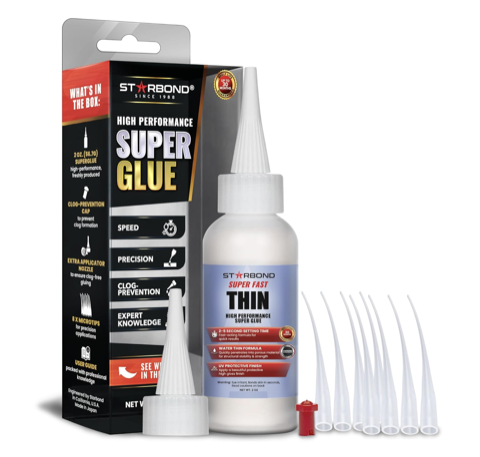
Precision Glue
-
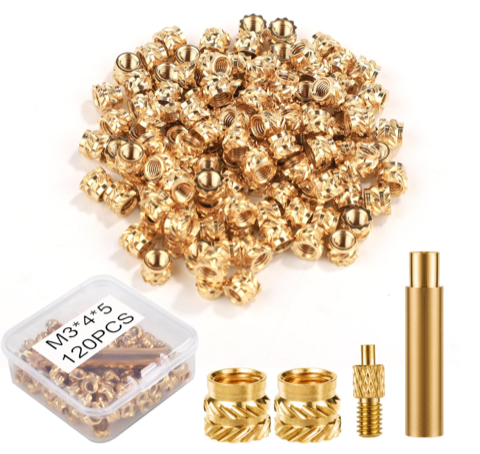
Threaded Inserts
-
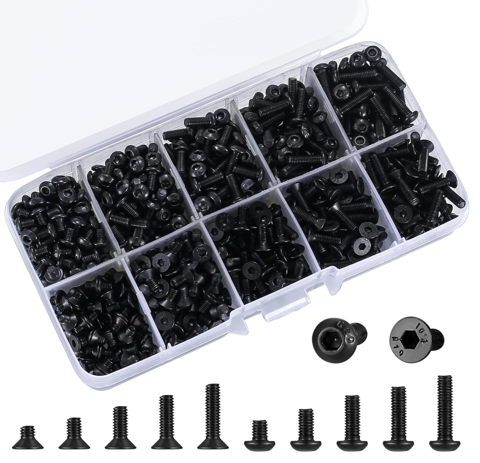
Assorted M3 Screws
-
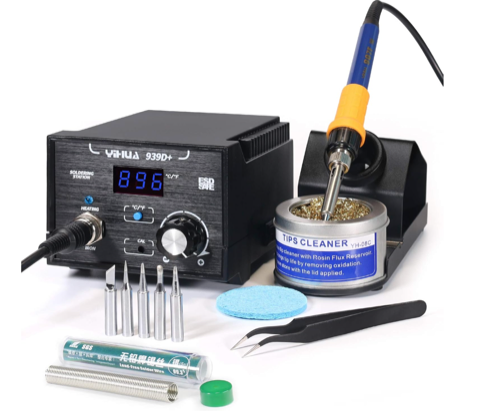
Soldering Iron
-
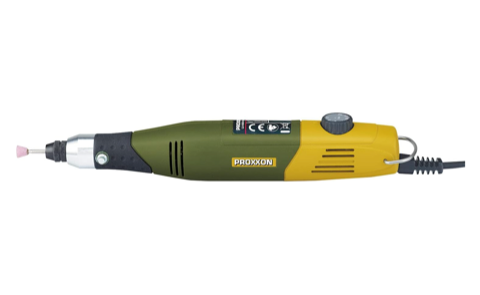
Rotary Tool
-
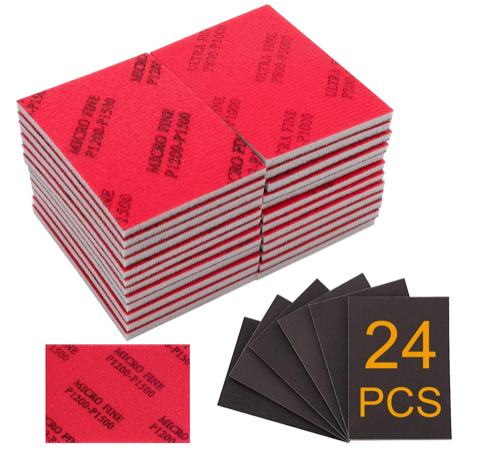
Wet/Dry Sanding Pads
-
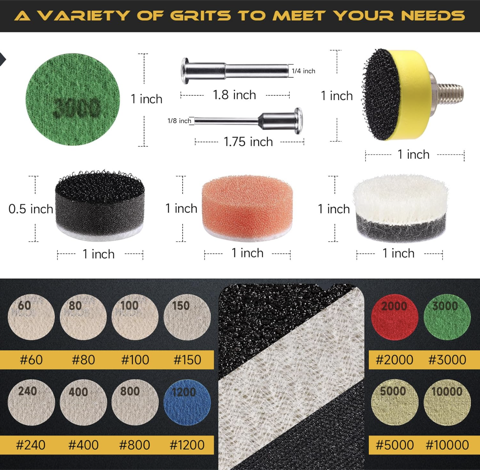
Small Sanding & Buffing Discs
-
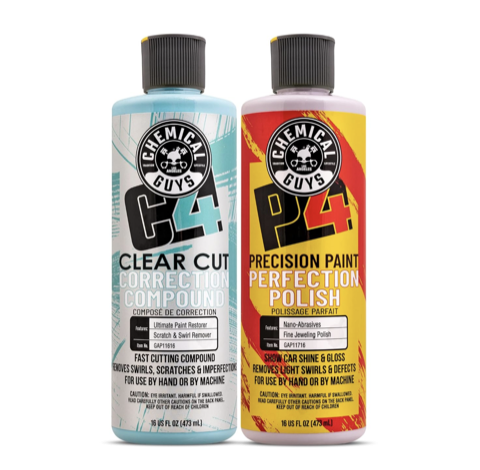
Polishing Compound
-
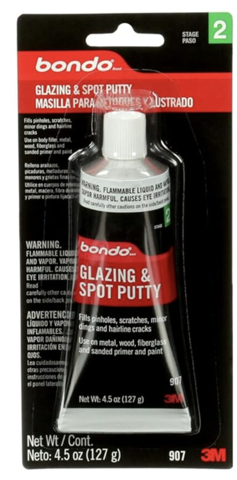
Bondo Spot Putty
-
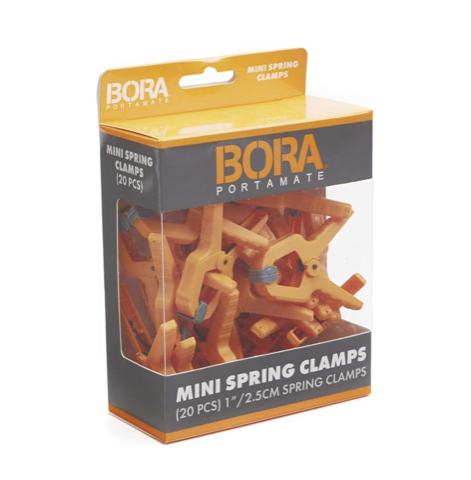
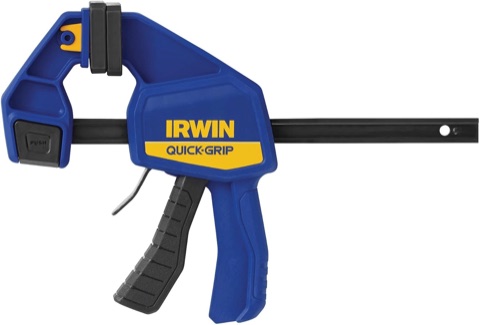
Micro Clamps
-
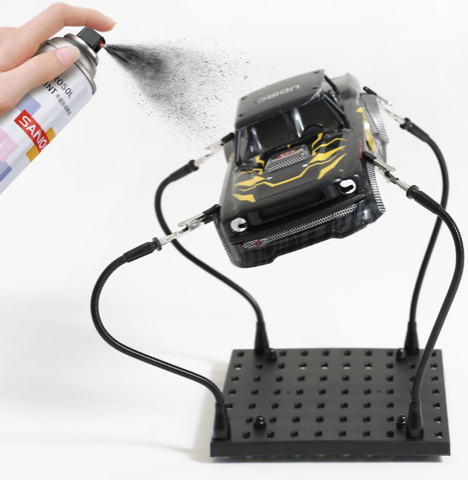
Model Painting Base
-
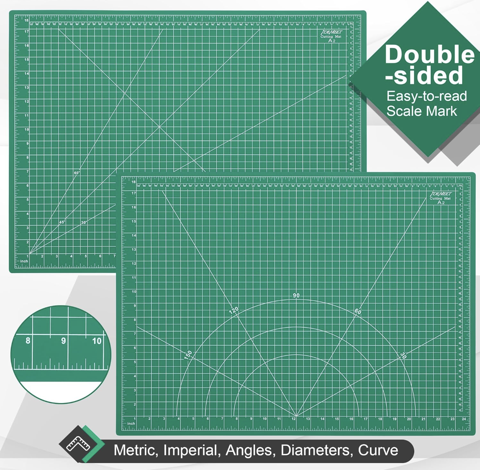
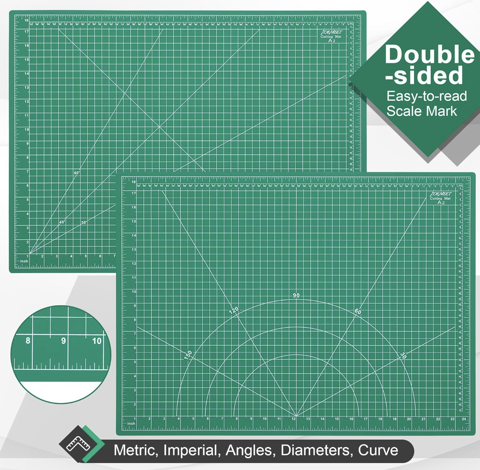
18 x 24 Cutting Mat
-
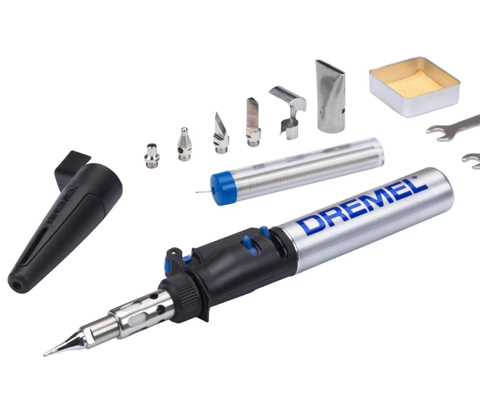
Butane Torch
-
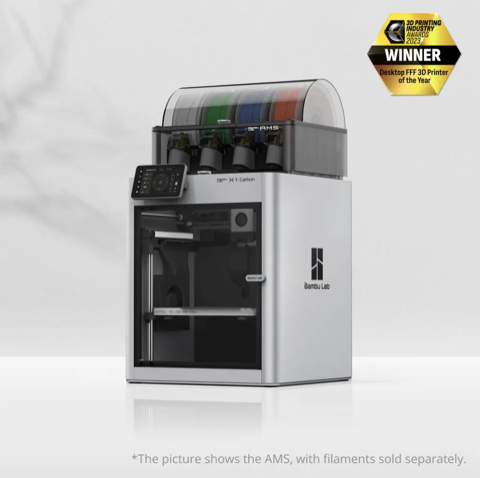
Bambu X1C
-
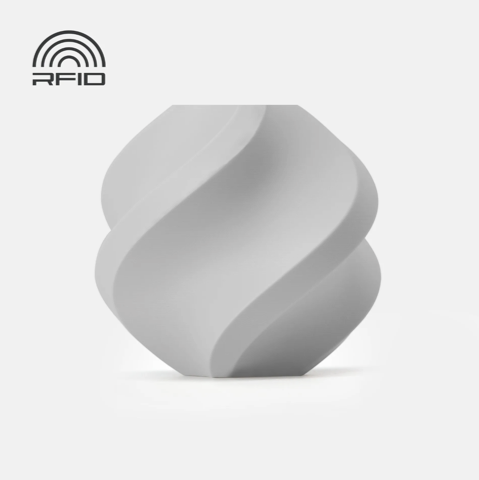
Bambu PLA Basic
Taco
The Taco body is built on an Element RC Knight Runner Enduro, which supplies the drivetrain, suspension, and motor. The rest is fasteners, printing, glue, paint, and finishing tools.
Donor truck & hardware
-
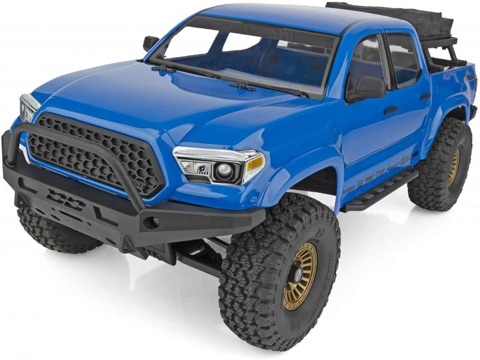
Element RC Knight Runner Enduro 4x4
You will need an Element RC Knight Runner Enduro to use as a parts donor for the the drivetrain, suspension, motor, etc.
-
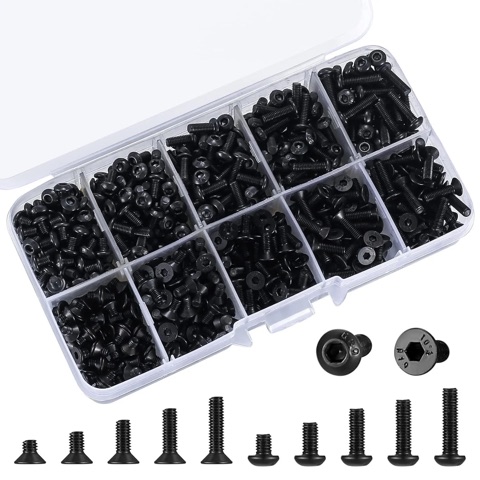
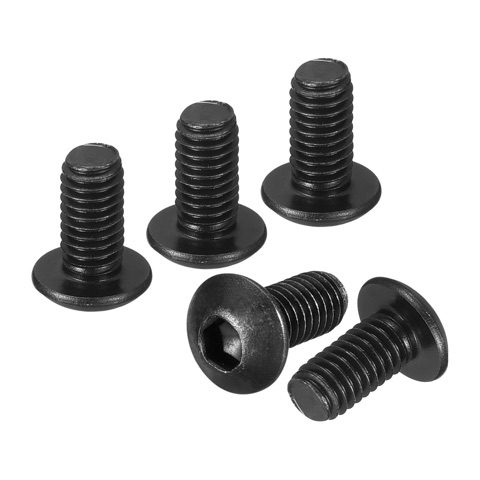
Assorted M3 Fasteners
You will need an assortment of M3 bolts to assemble RC body. I recommend this pack with a range of lengths with button heads and flat heads.
-
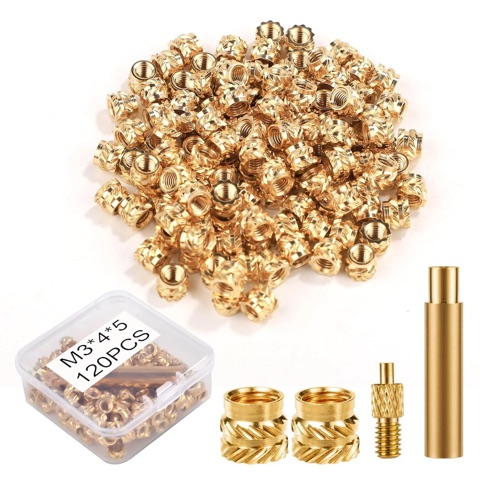
Brass Inserts
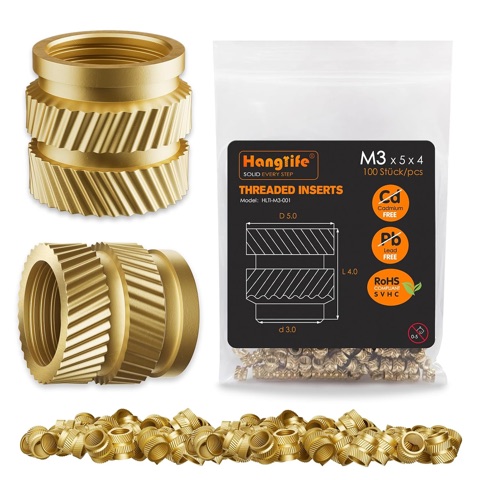
You will need these M3 x 4mm x 5mm brass inserts. This particular set comes with the appropriately sized adaptor for your soldering iron allowing you to press the inserts into the bosses on your 3D printed parts.
Printing
-
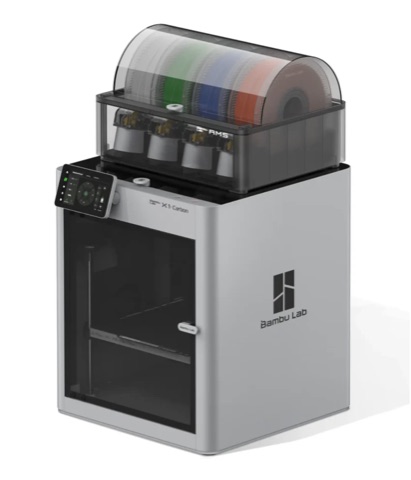
Bambu Lab X1C
I highly recommend the Bambu Lab X1C or X1E printer for this project. I used this printer exclusively to print the RC Tacoma.
-
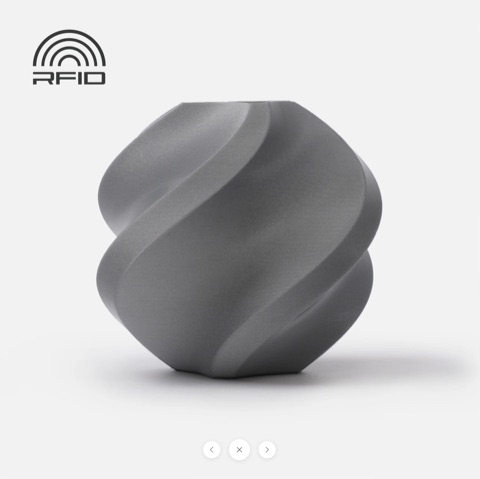
Bambu Lab PLA Basic Filament 1kg
I used Bambu Lab PLA Basic for all of the body panels on the truck.
-
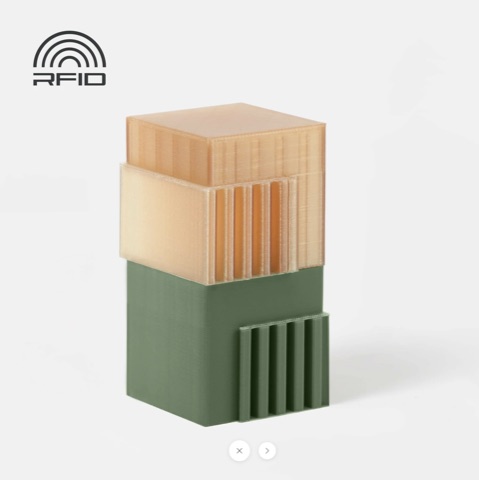
Bambu Lab Support for PLA/PETG 0.5kg
I strongly prefer printing using dedicated support material. Print times will be longer, but ultimately you will save much more time and elbow grease when it comes to removing support material and cleaning up part.
Glue
-
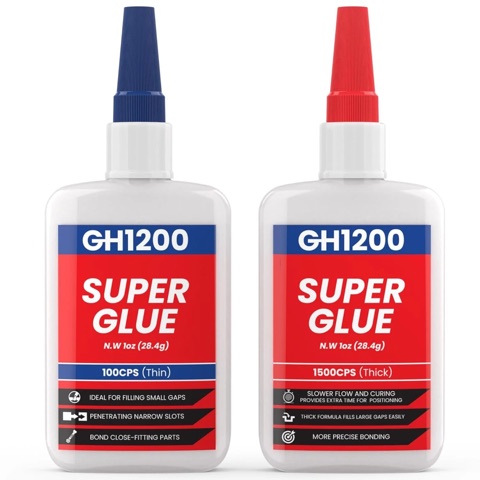
CA Glue — Thin & Thick
GH1200 CA glue is the best I have found for gluing PLA printed parts. It is helpful to have the thin stuff that penetrates deep into cracks, and some of the thicker stuff the fill gaps between imperfectly fitting parts.
-
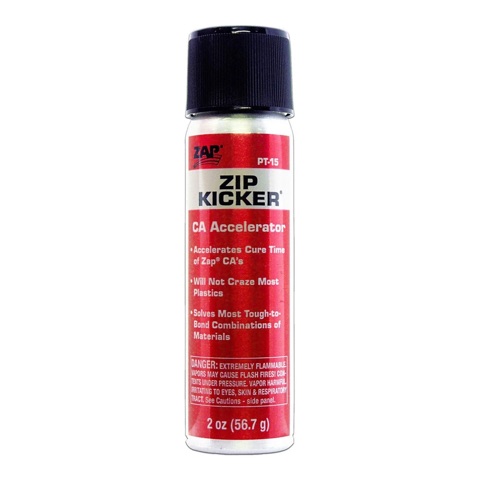
Zip Kicker
While not required, Zip Kicker is extremely helpful during the glue-up process. One pump instantly cures the CA glue so you don’t need sit there squeezing two parts together while the glue cures.
Paint
-
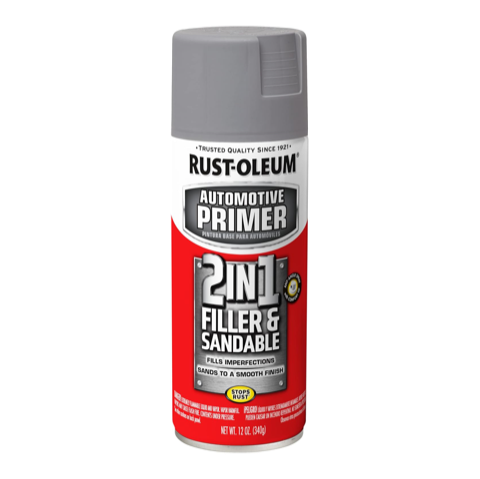
Rust-oleum 2-in-1 Sandable Primer
By far the best sandable primer. Does an excellent job at filling in the layer lines on 3D printed parts, dries extremely quickly, and sands to a very smooth finish.
-
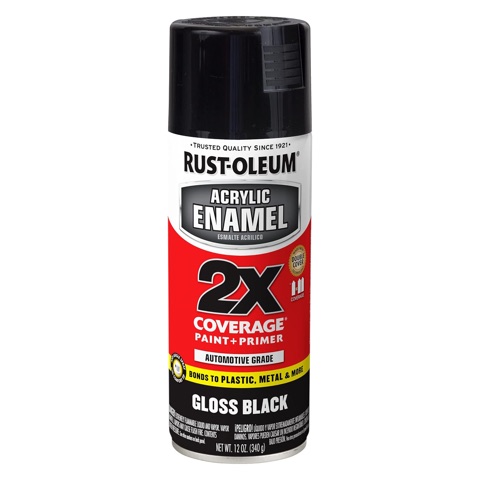
Rust-oleum Black Enamel
This gloss black enamel works perfectly as finish for windows and windshields. Lays onto the sandable primer with a perfect finish.
-
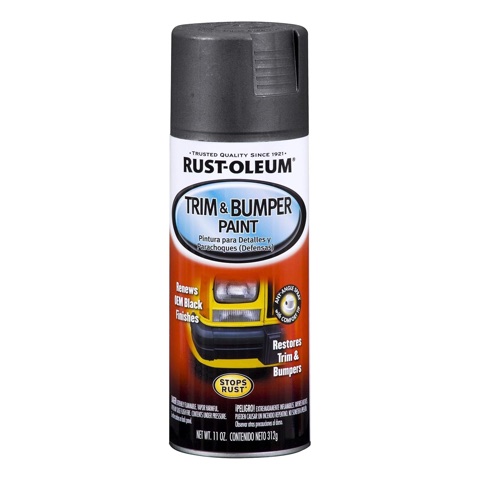
Rust-oleum Automotive Trim & Bumper
This paint achieves that lightly textured satin bumper trim finish that is perfect for the Grill, Bed, and Wheel Arch Moldings.
-
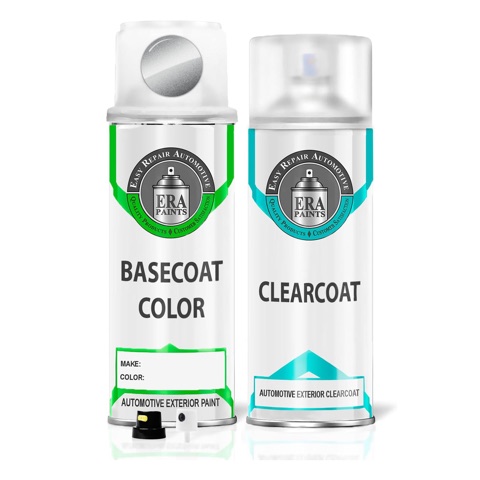
ERA Basecoat & Clearcoat
Obviously the basecoat color is up to you. But I highly recommend using ERA’s official Toyota touch up paint if your goal is accurately match a real tacoma paint code. The level of metallic flake matches true factory tacoma paint. 2-3 coats of clear top coat will be required to make the body panels really pop.
Tools & finishing
-
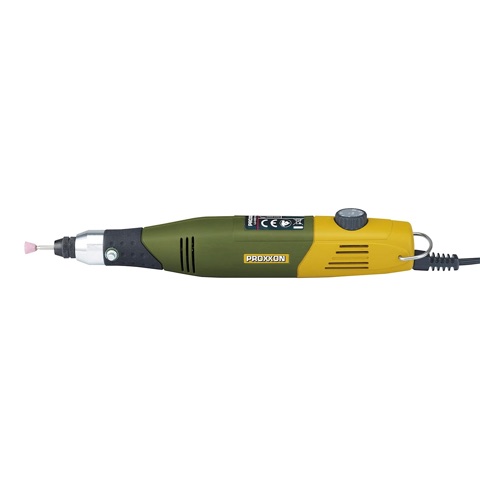
Proxxon Dremel Tool
Any dremel tool will work, but I used this extremely high quality German engineered rotary tool for sanding parts and polishing the paint to its final luster. The advantage of going with Proxxon is the rotary tool is compatible with the mini drill press so you can mount the tool and drill perfectly plumb holes, and mount a soldering iron for pressing in brass threaded inserts.
-
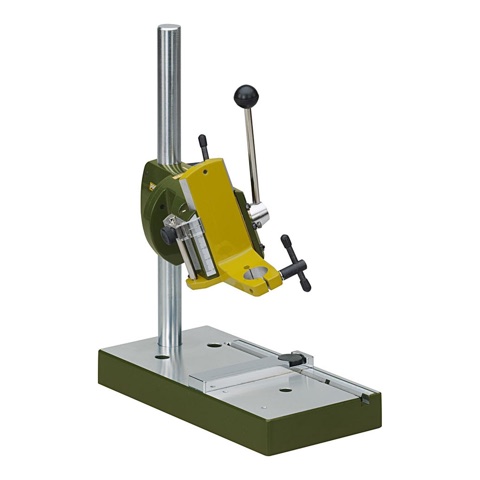
Proxxon Mini Press
Compatible with the Proxxon rotary tool, and the soldering Iron below. Makes pressing brass inserts into parts much easier, and ensures a perfect alignment. Extremely precise tool with impressive build quality.
-
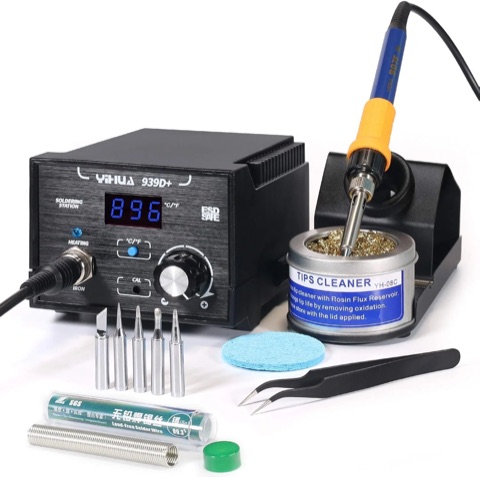
Soldering Iron
Any soldering iron with variable temperature control will do. However this one is compatible with the Proxxon Mini Press. Mount the adaptor that comes with the brass inserts above in order to heat and press the M3 threaded inserts into PLA parts.
-
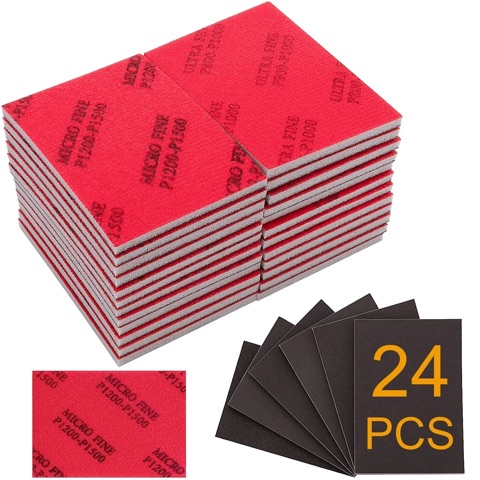
Wet/Dry Sanding Sponges
Sanding sponges are critical for sanding parts with compound surface curvature. The sponge backing allows the abrasives to follow the contour of the surface instead of creating flat spots. These work really well for sanding between primer coats.
-
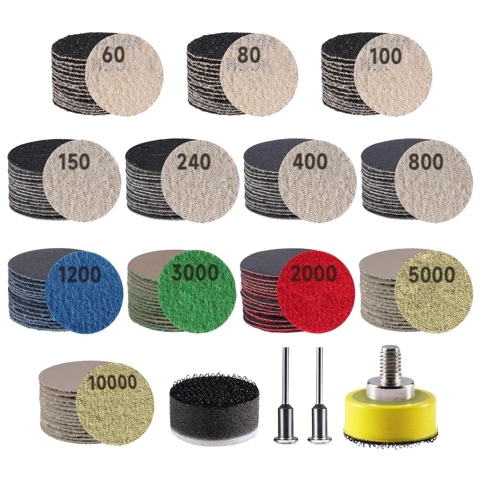
Sanding Discs for Dremel
Hook and loop sanding discs with a variety of grits that mount to your dremel tool. This really expedites the rough sanding process. This product also includes polishing heads that I used to buff paint with polishing compound.
-
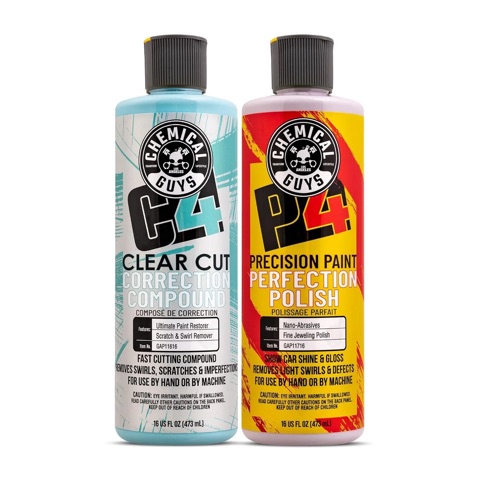
Paint Polishing Compound
I used this two stage polishing compound with the dremel and a buffing head to achieve a mirror finish to the clear coat.
-
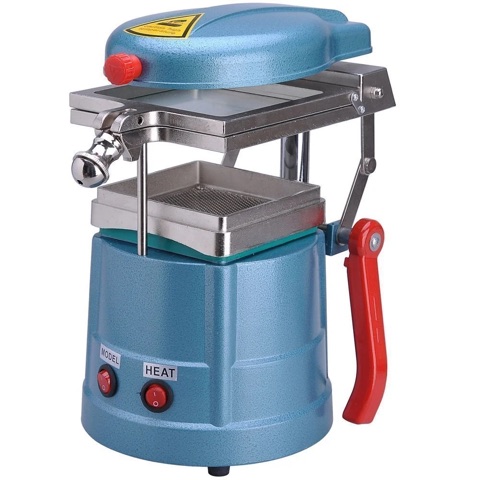
Dentist’s Vacuum Forming Tool
A really nifty and reasonably priced vacuform that I used to thermoform the clear headlight and tail light lenses.Works well with Acrylic and Polycarbonate sheet.
Differential
Mega-Bearing
Nothing to buy beyond the printed parts and a little glue — the build guide covers the rest.